Create A New Service
Generate the Service
For the purposes of this tutorial, you will create a new service with the artifactId of starter-service. The mvn archetype:generate command detailed below will start the process of generating your new service code. You should execute this command from the terminal in the root of your starter-project directory.
mvn org.apache.maven.plugins:maven-archetype-plugin:3.4.1:generate \
       -DarchetypeGroupId=gov.va.mobile.archetypes \
       -DarchetypeArtifactId=multi-module-archetype \
       -DarchetypeVersion=3.0.4 \
       -DgroupId=gov.va.mobile.service \
       -DartifactId=starter-service \
       -Dversion=1.0.0 \
-Dshort-name=starter|
The
|
After executing the maven command, you should enter into an interactive mode that will prompt you for additional input.
Accept the default values (just keep pressing enter). Enter Y at the end to confirm the configured properties.
Below is an example of the output :
[INFO] Generating project in Interactive mode
[INFO] Archetype repository not defined. Using the one from [gov.va.mobile.archetypes:multi-module-archetype:3.0.4] found in catalog local
[INFO] Using property: short-name = starter
[INFO] Using property: dtr-org = ckm
[INFO] Using property: jira-project = CKM
[INFO] Using property: auditEventProducerVersion = 2.6.0
[INFO] Using property: mobileFrameworkVersion = 3.0.6
[INFO] Using property: ngssTilesVersion = 2.9.7
[INFO] Using property: serviceLintVersion = 1.4.5
[INFO] Using property: skaffoldTestLibVersion = 2.0.0
[INFO] Using property: gitignore = .gitignore
[INFO] Using property: groupId = gov.va.mobile.service
[INFO] Using property: artifactId = starter-service
[INFO] Using property: version = 1.0.0
Define value for property 'base-package' gov.va.mobile.starter.v1:
Define value for property 'package' gov.va.mobile.starter.v1.service:
Define value for property 'service-base-path' /starter/v1:
Define value for property 'formatted-short-name' Starter:
Define value for property 'module-dir' starter-service:
Confirm properties configuration:
short-name: starter
dtr-org: ckm
jira-project: CKM
auditEventProducerVersion: 2.6.0
mobileFrameworkVersion: 3.0.6
ngssTilesVersion: 2.9.7
serviceLintVersion: 1.4.5
skaffoldTestLibVersion: 2.0.0
gitignore: .gitignore
groupId: gov.va.mobile.service
artifactId: starter-service
version: 1.0.0
base-package: gov.va.mobile.starter.v1
package: gov.va.mobile.starter.v1.service
service-base-path: /starter/v1
formatted-short-name: Starter
module-dir: starter-service
Y: y
If everything goes well, you should have a newly created folder named starter-service.
Before going any further, rename this directory to avoid confusion with the service directory contained within, then change to this directory. This will be your service root directory.
mv starter-service starter-service-parent
cd starter-service-parent
Inside the starter-service-parent directory will be a number of root level artifacts, such as changelog, readme and pom files, as well as directories for documentation, templates, etc. There will also be two directories which are your service modules: starter-service-client, which is where the generated client for accessing the service resides, and starter-service, which contains the service code and configuration. This is where you will do most of your work.
At this point, you should create a new project in your IDE with this folder as your root. This will aid in navigation and code completion as you work on the service. You should also add the generated client code as a source directory in your IDE so that it displays correctly. In IntelliJ, you can do this by selecting File | Project Structure | Modules | starter-service-cllient and adding target/generated-sources/src/main/java as a source directory.
|
Prepare the Service for Installation
| Java 21 is required to build this service. |
Before you can run the service, you will need to generate some required artifacts. These include jenkinsfile, kubernetes, skaffold and kustomize files needed to configure your service for both local and remote deployment, as well as additional documentation and configuration artifacts.
Inside the root directory of your service, you will find an executable setup script that will generate these artifacts for you. Run the following command to execute this script:
./setup.shYou will be prompted through a series of steps to configure the generated artifacts. The default values are provided in brackets; you can accept the defaults by pressing enter.
-
Git repository
-
Since the starter-service is under the starter-project, you will be asked if you want to add starter-service to the existing git repository instead of creating a new one. Hit enter to accept the default of
Yfor yes.
-
-
Kubernetes, Skaffold, pipeline, and Backstage files (filegen)
-
You will be prompted for Backstage owner and contract values. Hit enter to accept the default values.
-
-
Skaffold scripts
-
This step grants permissions to the generated skaffold scripts in the
scriptsdirectory. No user input is required for this step.
-
-
Dynatrace labels (kubernetes/base/deployment.yaml)
-
You will be prompted to set the correct values for the
metadata:labels:DynatraceDeploymentNameandspec:template:metadata:labels:MAP-DHAS-ServiceNamelabels, as they contain placeholder text when initially generated. Accept the default values.
-
-
Product owner (starter-service/metadata.yaml)
-
You will be prompted to set the product owner for the service. Hit enter to accept the blank default value.
-
-
Build, deploy, and test
-
This step will run a maven build to ensure that the service builds successfully. Accept the default of
Yto run the build. If the build fails, reach out to the Onboarding team for assistance in resolving the issue. We will cover the specific build commands in more detail in the next section.You may notice a number of warnings regarding Git remote URI queries failing during the build; these can be ignored.
-
-
Commit the generated files
-
You will be prompted to commit the generated files to your git branch. Hit enter to accept the default of
Yfor yes and the default commit message.
-
Once you have completed the above steps, you will be asked if you want to delete the setup script. The default is Y, but select N in case you need to re-run the script. If you choose to delete the script, you will not be able to re-run it without re-cloning the service from the repository and regenerating your service.
Run the Service Container and All Dependent Containers
Now that your service has been generated and configured, you can run the service container and all dependent containers in your local cluster. You can do this in one of two ways: using skaffold commands or using maven commands.
Way 1 - Using Skaffold Commands
-
Start the service by executing the following. This will deploy the service and its dependencies to your local cluster and will continue to tail the logs after successful startup.
skaffold devIf you would like to start up your service and expose the remote debugging port (default 5005) for running integration tests manually within your IDE, you can do so by running:
skaffold debugSee Skaffold Debugging with IntelliJ for instructions on configuring the remote debugger.
-
When the service has finished starting up, open a separate terminal window and run the maven
verifygoal with theskaffold-integrationprofile to ensure the integration tests and code quality checks execute successfully../mvnw verify -Pskaffold-integrationIf your build fails for any reason, refer to the build output to determine if there are test or code quality issues to address. Once you have fixed any issues, re-run the ./mvnw verify -Pskaffold-integrationcommand to ensure that all tests and code quality checks pass. -
To stop the running service and remove the deployed artifacts from the service namespace,
Ctrl-Cout of the running process. To ensure that all deployed artifacts are cleaned up properly, execute:skaffold delete
Way 2 - Using Maven Commands
-
Alternatively, you can also run a maven
installwith thewith-skaffoldprofile to build and stand up the service, run the integration tests and code quality checks, and tear the service down and clean up the deployment. You will use the provided maven wrapper script to ensure the correct version of maven is used:./mvnw clean install -Pwith-skaffoldYou will see a warning at the end of the build that says 'The requested profile "with-skaffold" could not be activated because it does not exist.' This is a side effect of the way the service pom file is constructed from tiles during the build process and is expected behavior. If you see this warning, you can safely ignore it as long as the build completes successfully. -
To leave the service running like the
skaffold devcommand (requires Ctrl-C to terminate):./mvnw clean pre-integration-test -Pwith-skaffold
| Make sure you can build your service before making any changes. Use both the skaffold and maven commands outlined above to make sure you can execute all the commands successfully. Work with the Onboarding team to resolve any issues. |
Add Generated Files to Git
If you have any additional generated files after your build that have not been added to git, add them and commit them to your branch. You can do this by executing the following commands:
git add .
git commit -m "Generated files added"
Testing the Service
With your service running, a docker ps will show the container for the service and any dependent containers.
CONTAINER ID   IMAGE          COMMAND                  CREATED              STATUS              PORTS     NAMES
3a309159192e   da1d7fc0d765   "java -javaagent:/ap…"   About a minute ago   Up About a minute             k8s_starter-service_starter-service-v1-55f8874dc9-n9bww_starter-service-test_3baf070e-a6e7-4585-87f8-21007ccc45d6_0
The two endpoints that should be reachable after the service comes up are:
-
http://localhost:8080/starter/v1 - This call to the service base path returns the swagger contract for the service.
-
http://localhost:8080/starter/v1/patients/{icn}/info - This second endpoint requesting patient info for the provided ICN is JWT protected. To generate a JWT for testing purposes, you will need to pull a library we have called
jwtgen. To use it, simply clone the jwtgen repo to a directory outside of your starter-project, build it using maven, then run the generated jar file with thejwtgen-superargument, as shown below:git clone https://coderepo.mobilehealth.va.gov/scm/iums/jwtgen.git cd jwtgen mvn clean package java -jar target/jwtgen-3.1.0.jarMake sure to check the jwtgenversion when you build it (v3.1.0 as of this writing) and update the above command accordingly. If you already have a jwtgen clone, rungit pullin it and build it again.This will enter into an interactive mode showing a list of available commands. Enter
jwtgen-superto generate a JWT with all the necessary roles and permissions for testing. You can also generate it without the interactive mode:java -jar target/jwtgen-3.1.0.jar jwtgen-super --token-onlyprints only the JWT. You can use this JWT to hit the endpoint as shown below.Request:
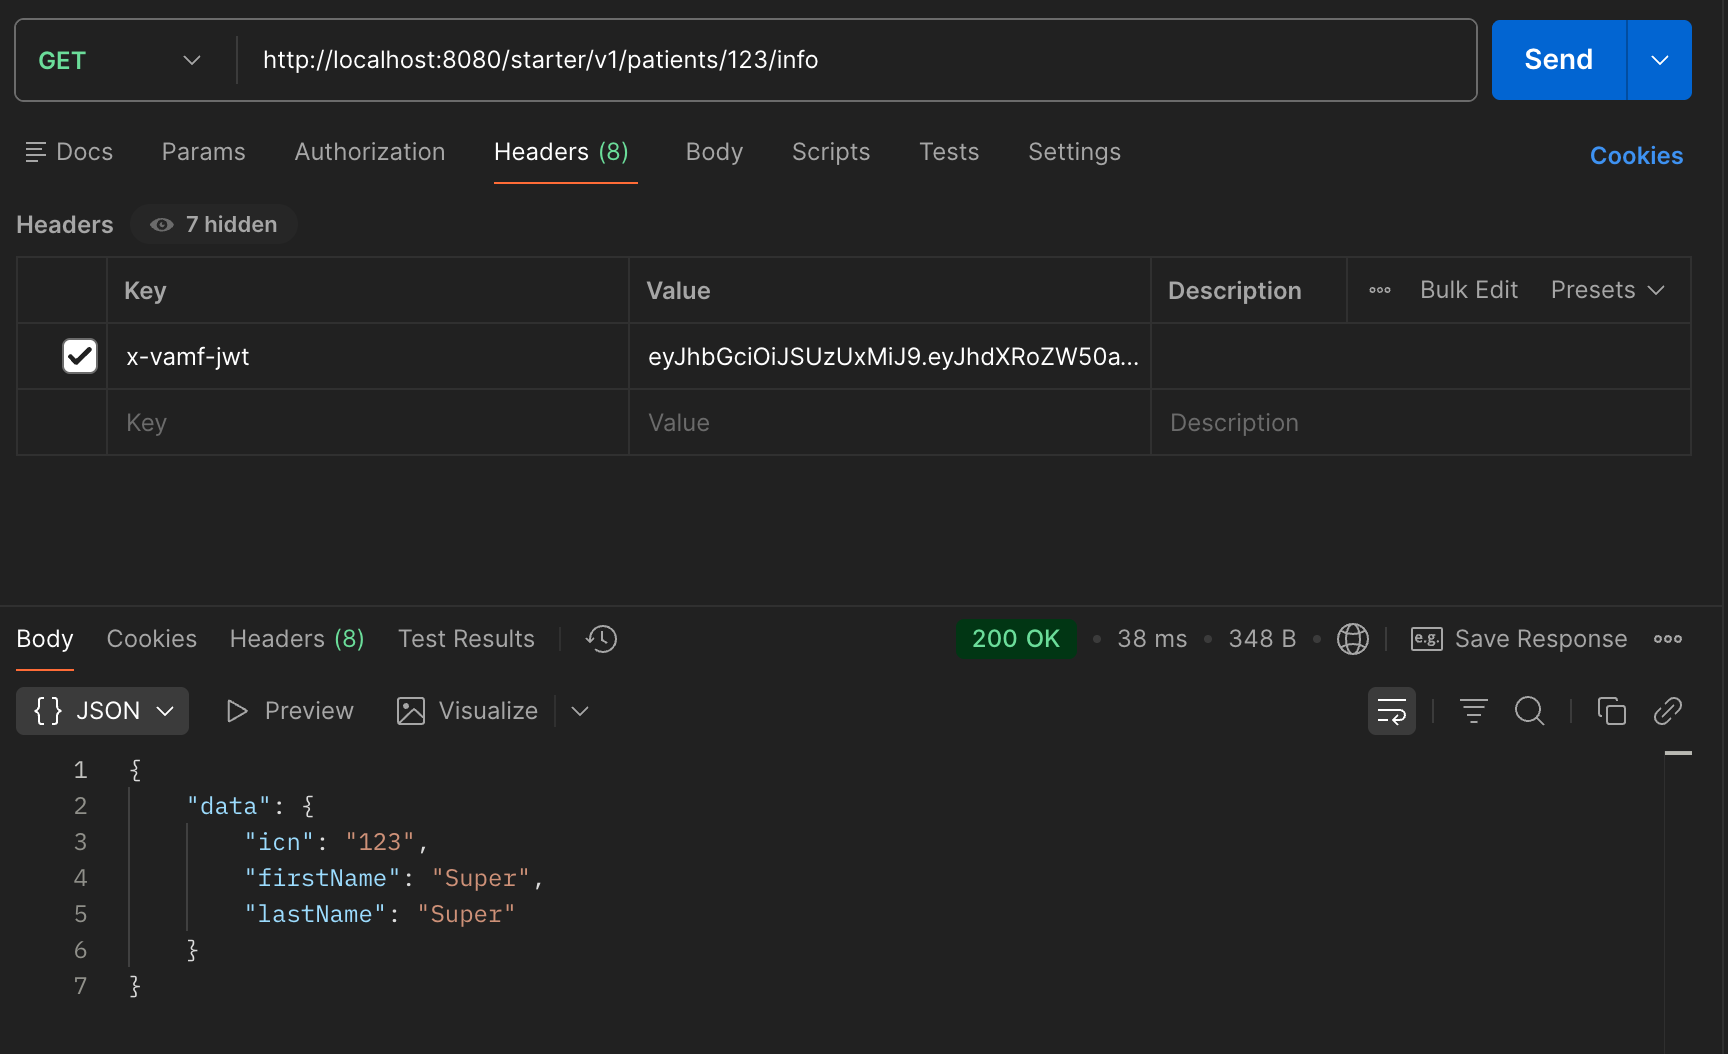
curl --location --request GET 'http://localhost:8080/starter/v1/patients/123/info' \
--header 'x-vamf-jwt: <<your-jwt-here>>'
Response:
{"data":{"icn":"123","firstName":"Super","lastName":"Super"}}
Testing Using Postman
| If you don’t already have Postman installed, you can download it from https://www.postman.com/downloads/. |
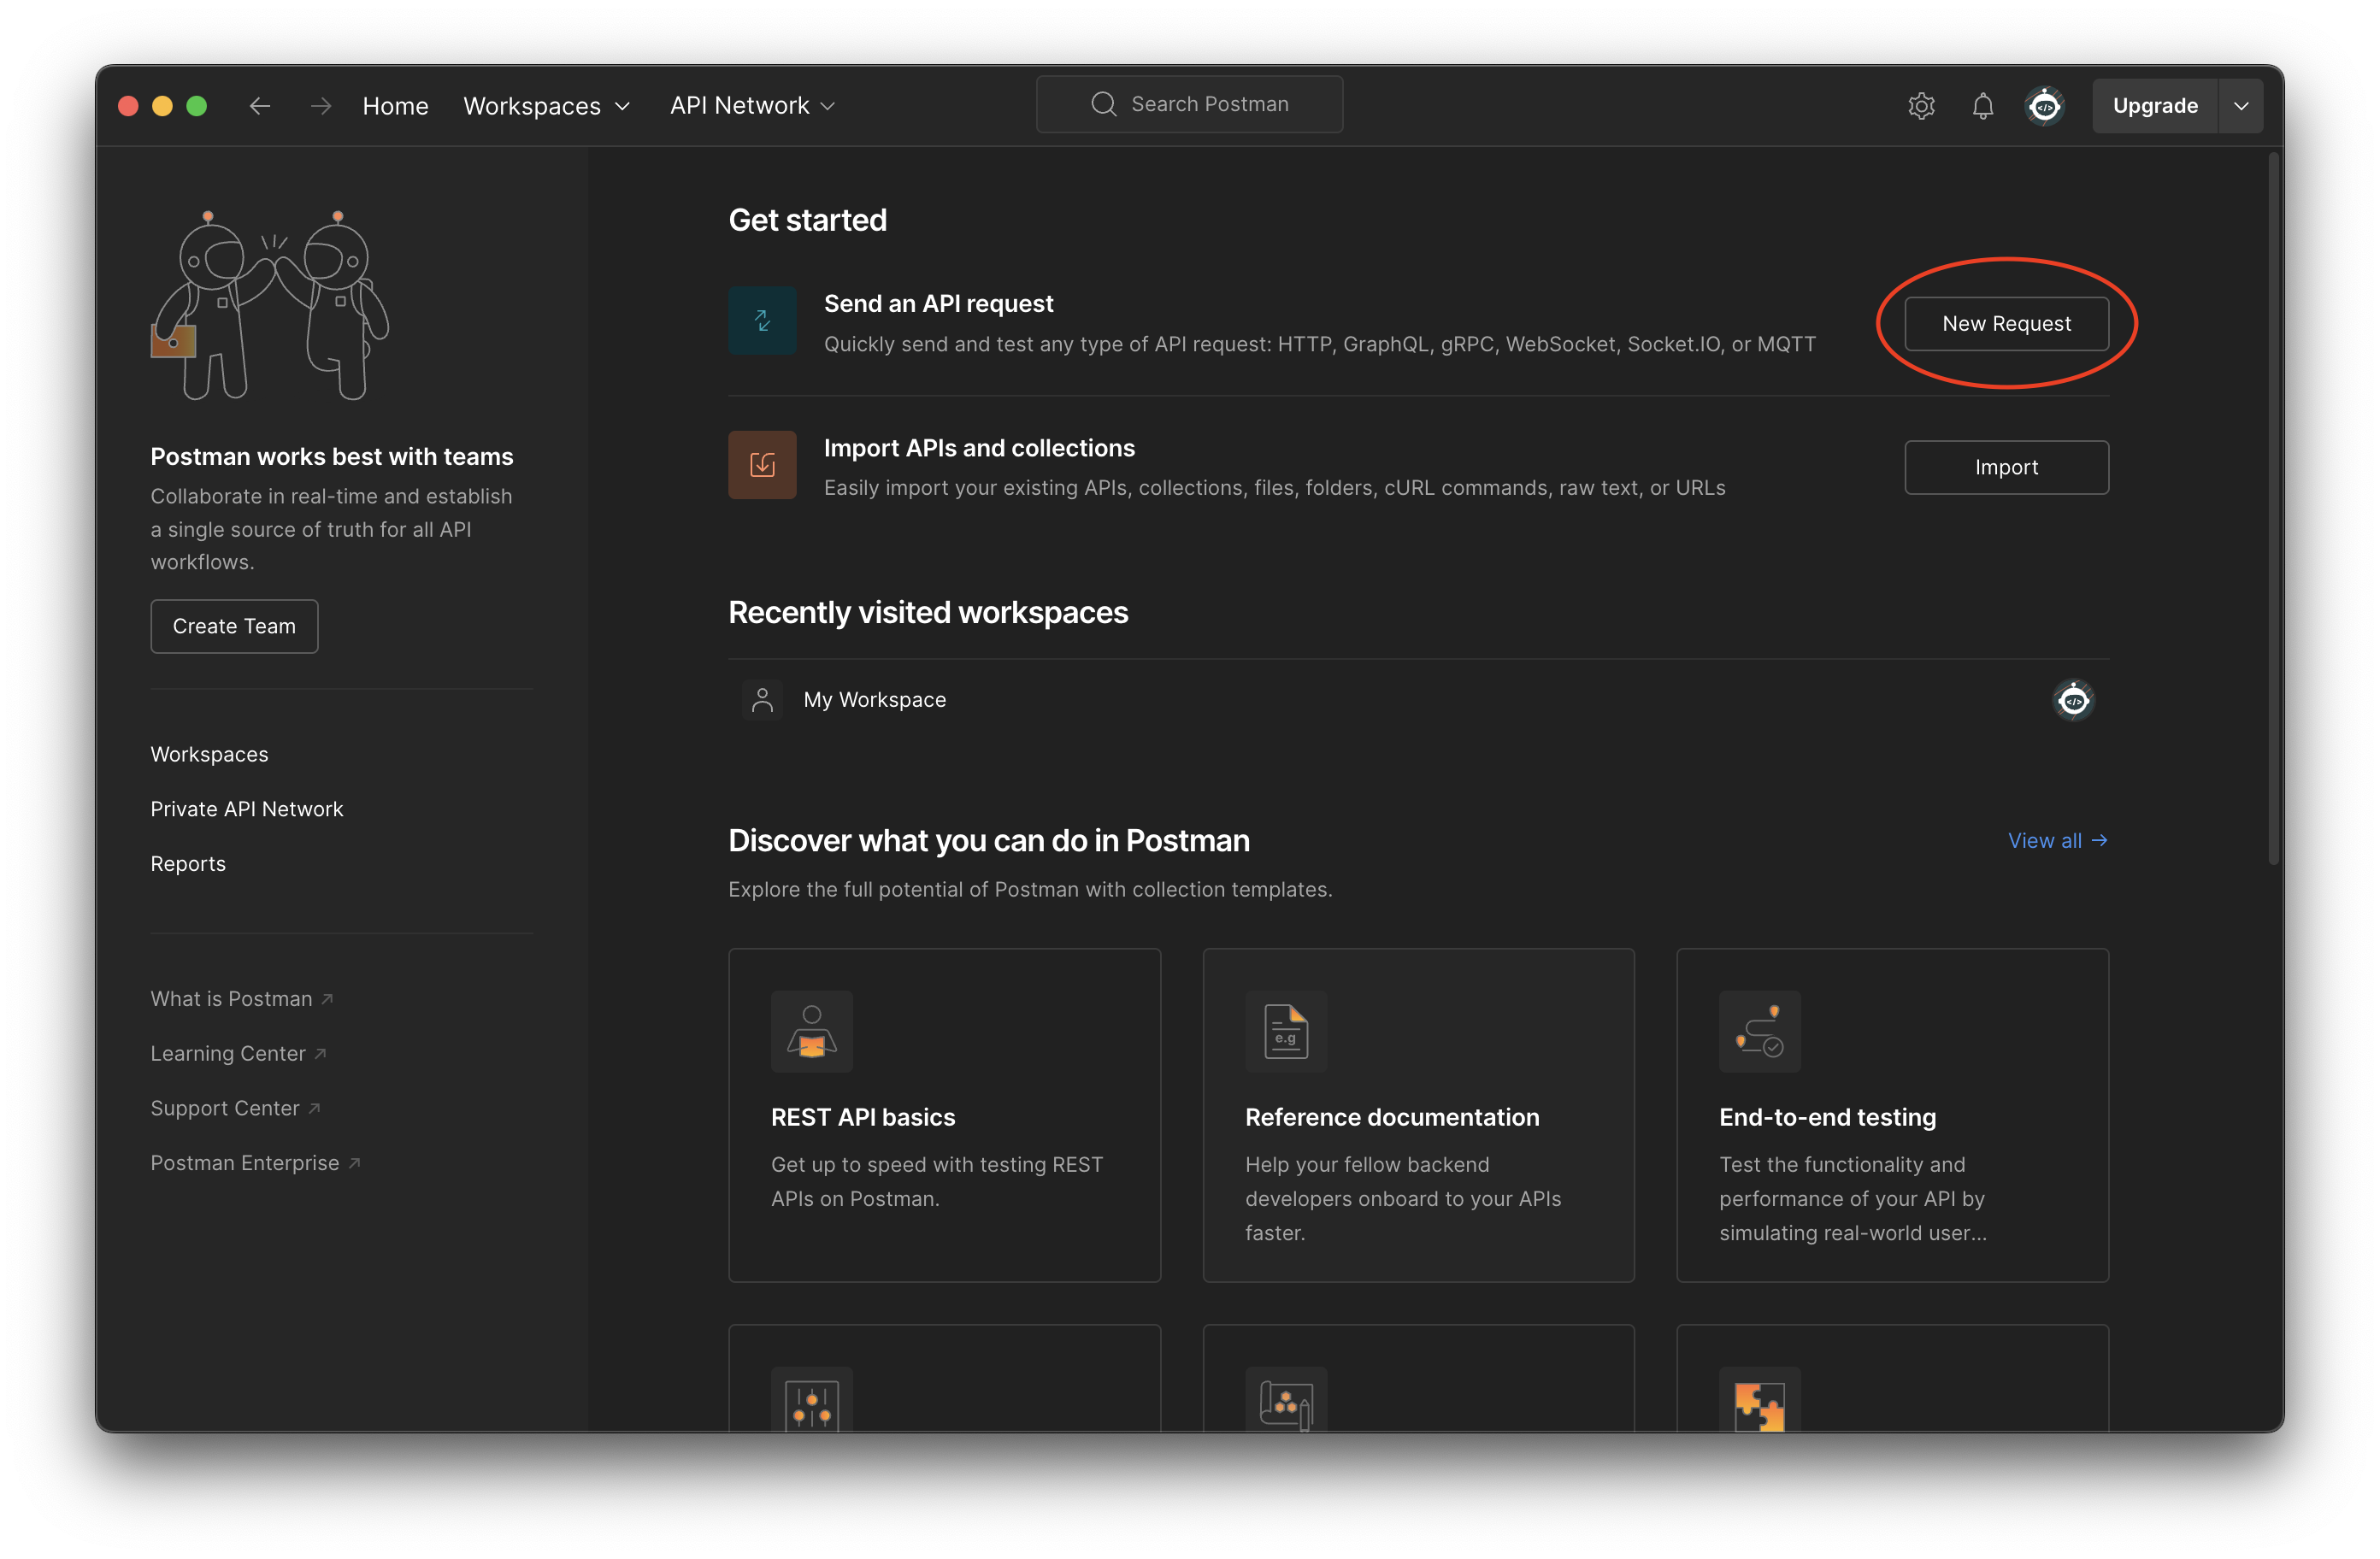
When you open Postman for the first time, you should see a screen similar to the one below. Click New Request to open a window where you can enter the request details:
Enter the HTTP method, URL, and the x-vamf-jwt header, then click Send to submit the request. To run the same GET request from above in Postman, your setup should look similar to this:
Once done testing, Ctrl-C out of the running process and execute a skaffold delete to clean up the deployment.
Other Useful Libraries/Frameworks
Before you begin modifying the starter-service, it is recommended that you pull down and examine the following repositories before continuing:
Mobile Framework
git clone https://coderepo.mobilehealth.va.gov/scm/ckm/mobile-framework.gitNGSS-Maven-Tiles
git clone https://coderepo.mobilehealth.va.gov/scm/ckm/ngss-maven-tiles.gitThese comprise two major parts of most of our services: the dependency management and the Maven configuration and tooling used to build our services. Many questions can be answered from an examination of these two projects.
If you are an SRE, switch to the SRE Starter here. Otherwise, continue to the next section to start modifying your service.